

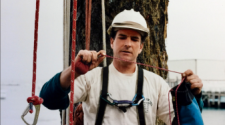
Working w/Cranes: What You Need to Know
By Mark Chisholm
Should we mention that it was taken from my presentation?
This article is about what it takes to do crane work from the perspective of the person doing the rigging, making the cut, whether climbing or using a bucket truck, and the crew working the ground.
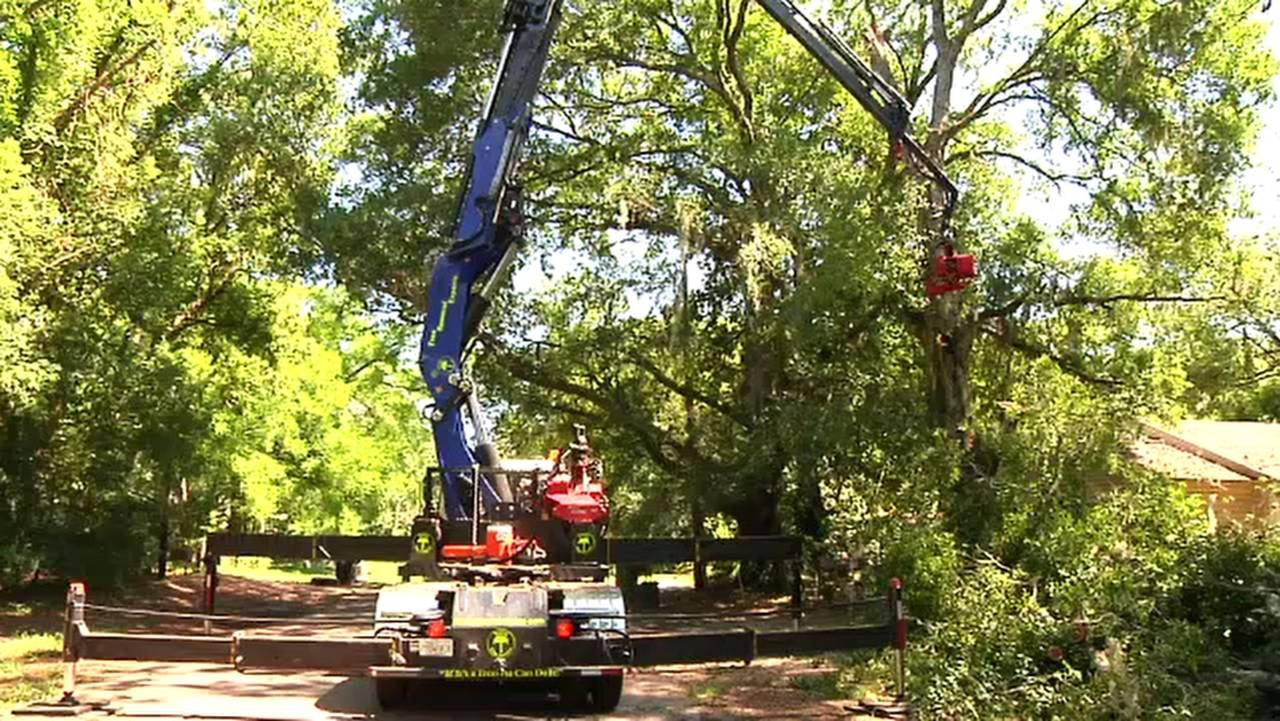
Why use a crane?
Why do you use a crane and why would you want to bring a crane to a tree site? There are many reasons, but I’ll focus on three.
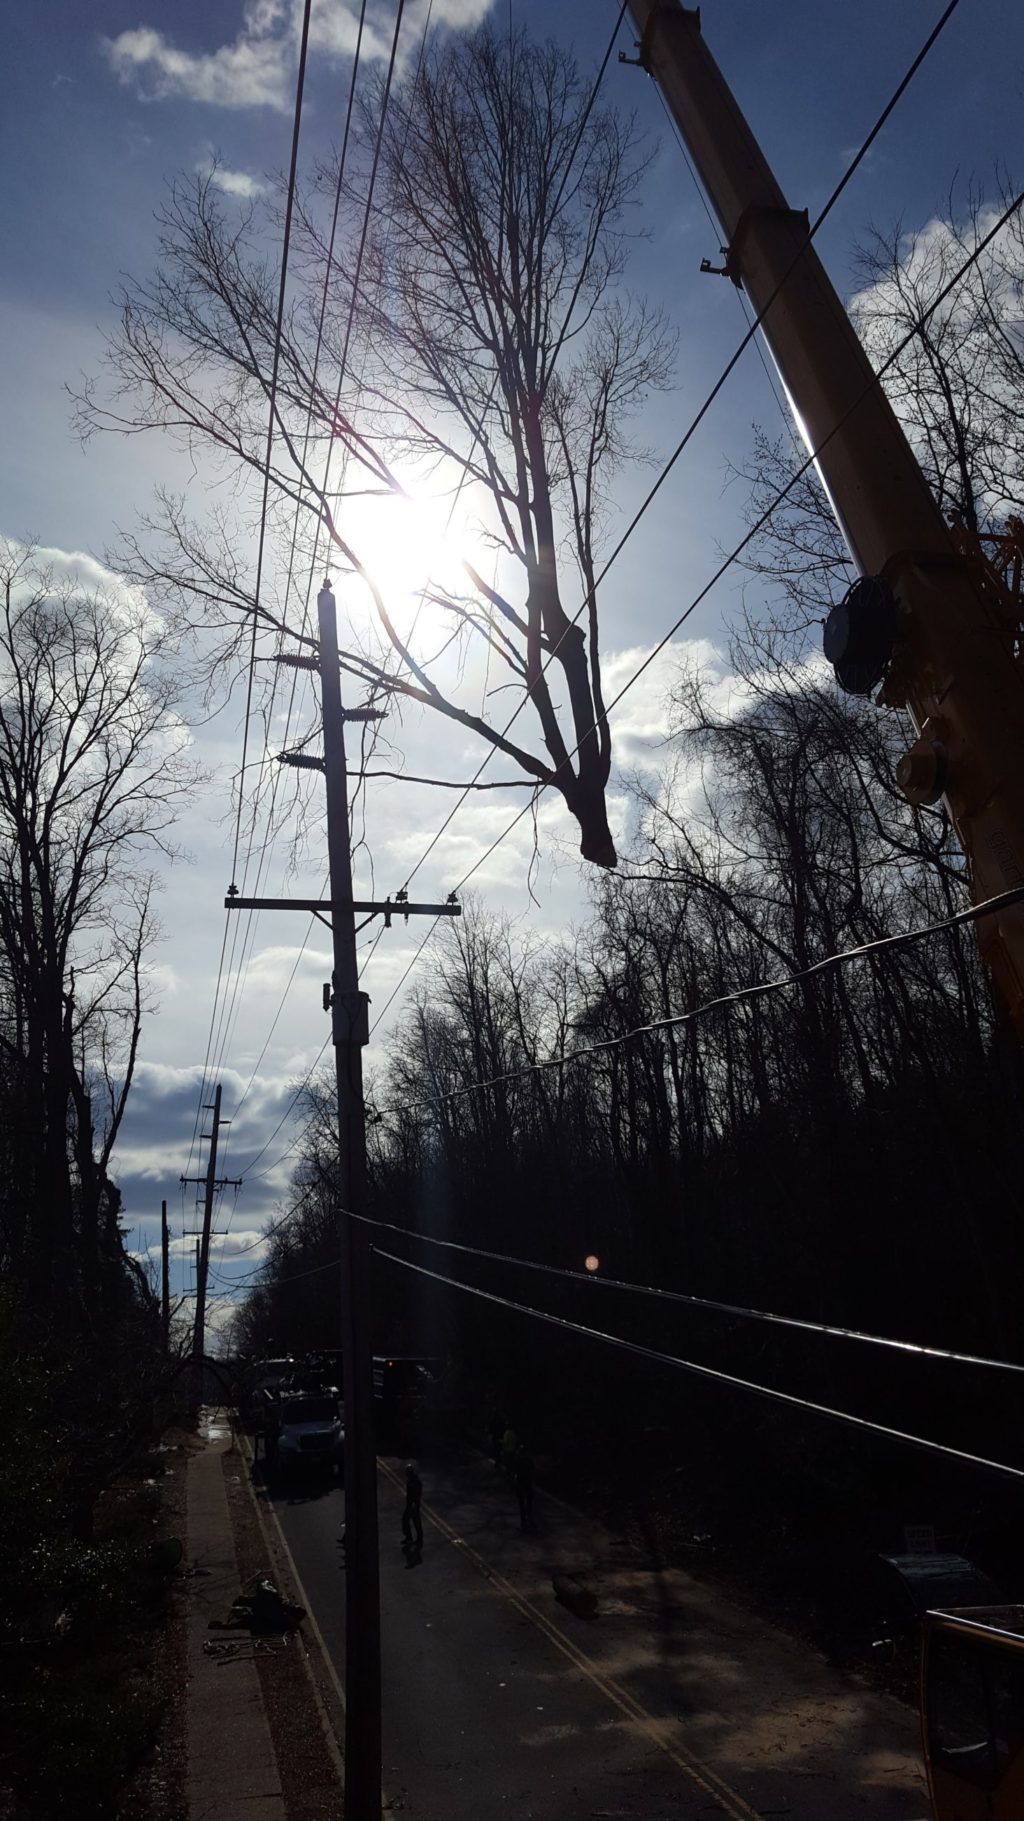
First and foremost is a lack structural integrity. When you have a tree that is very hazardous, a crane is one of the best ways to mitigate that risk. Bringing a crane to the site can make the process safer and simplify the job where you may otherwise be risking your life.
Number two is you don’t have a high leverage point. A lot of trees we get into in the field have been storm damaged or topped previously or have something wrong with them up high and you don’t have a rigging point or a tie-in point you can utilize, and you may need a high leverage point to be able to navigate out on the limb safely or to do rigging. A crane will bypass that flaw and give you an out that is safe and efficient.
Sometimes you have a great tree and you feel pretty safe climbing it and you can rig it, but it may be problematic to get the brush down. It is over a roof, service drops, a playground or greenhouse. Bring a crane in and you can lift it up and put it down in a spot where you decide and manage things very comfortably.
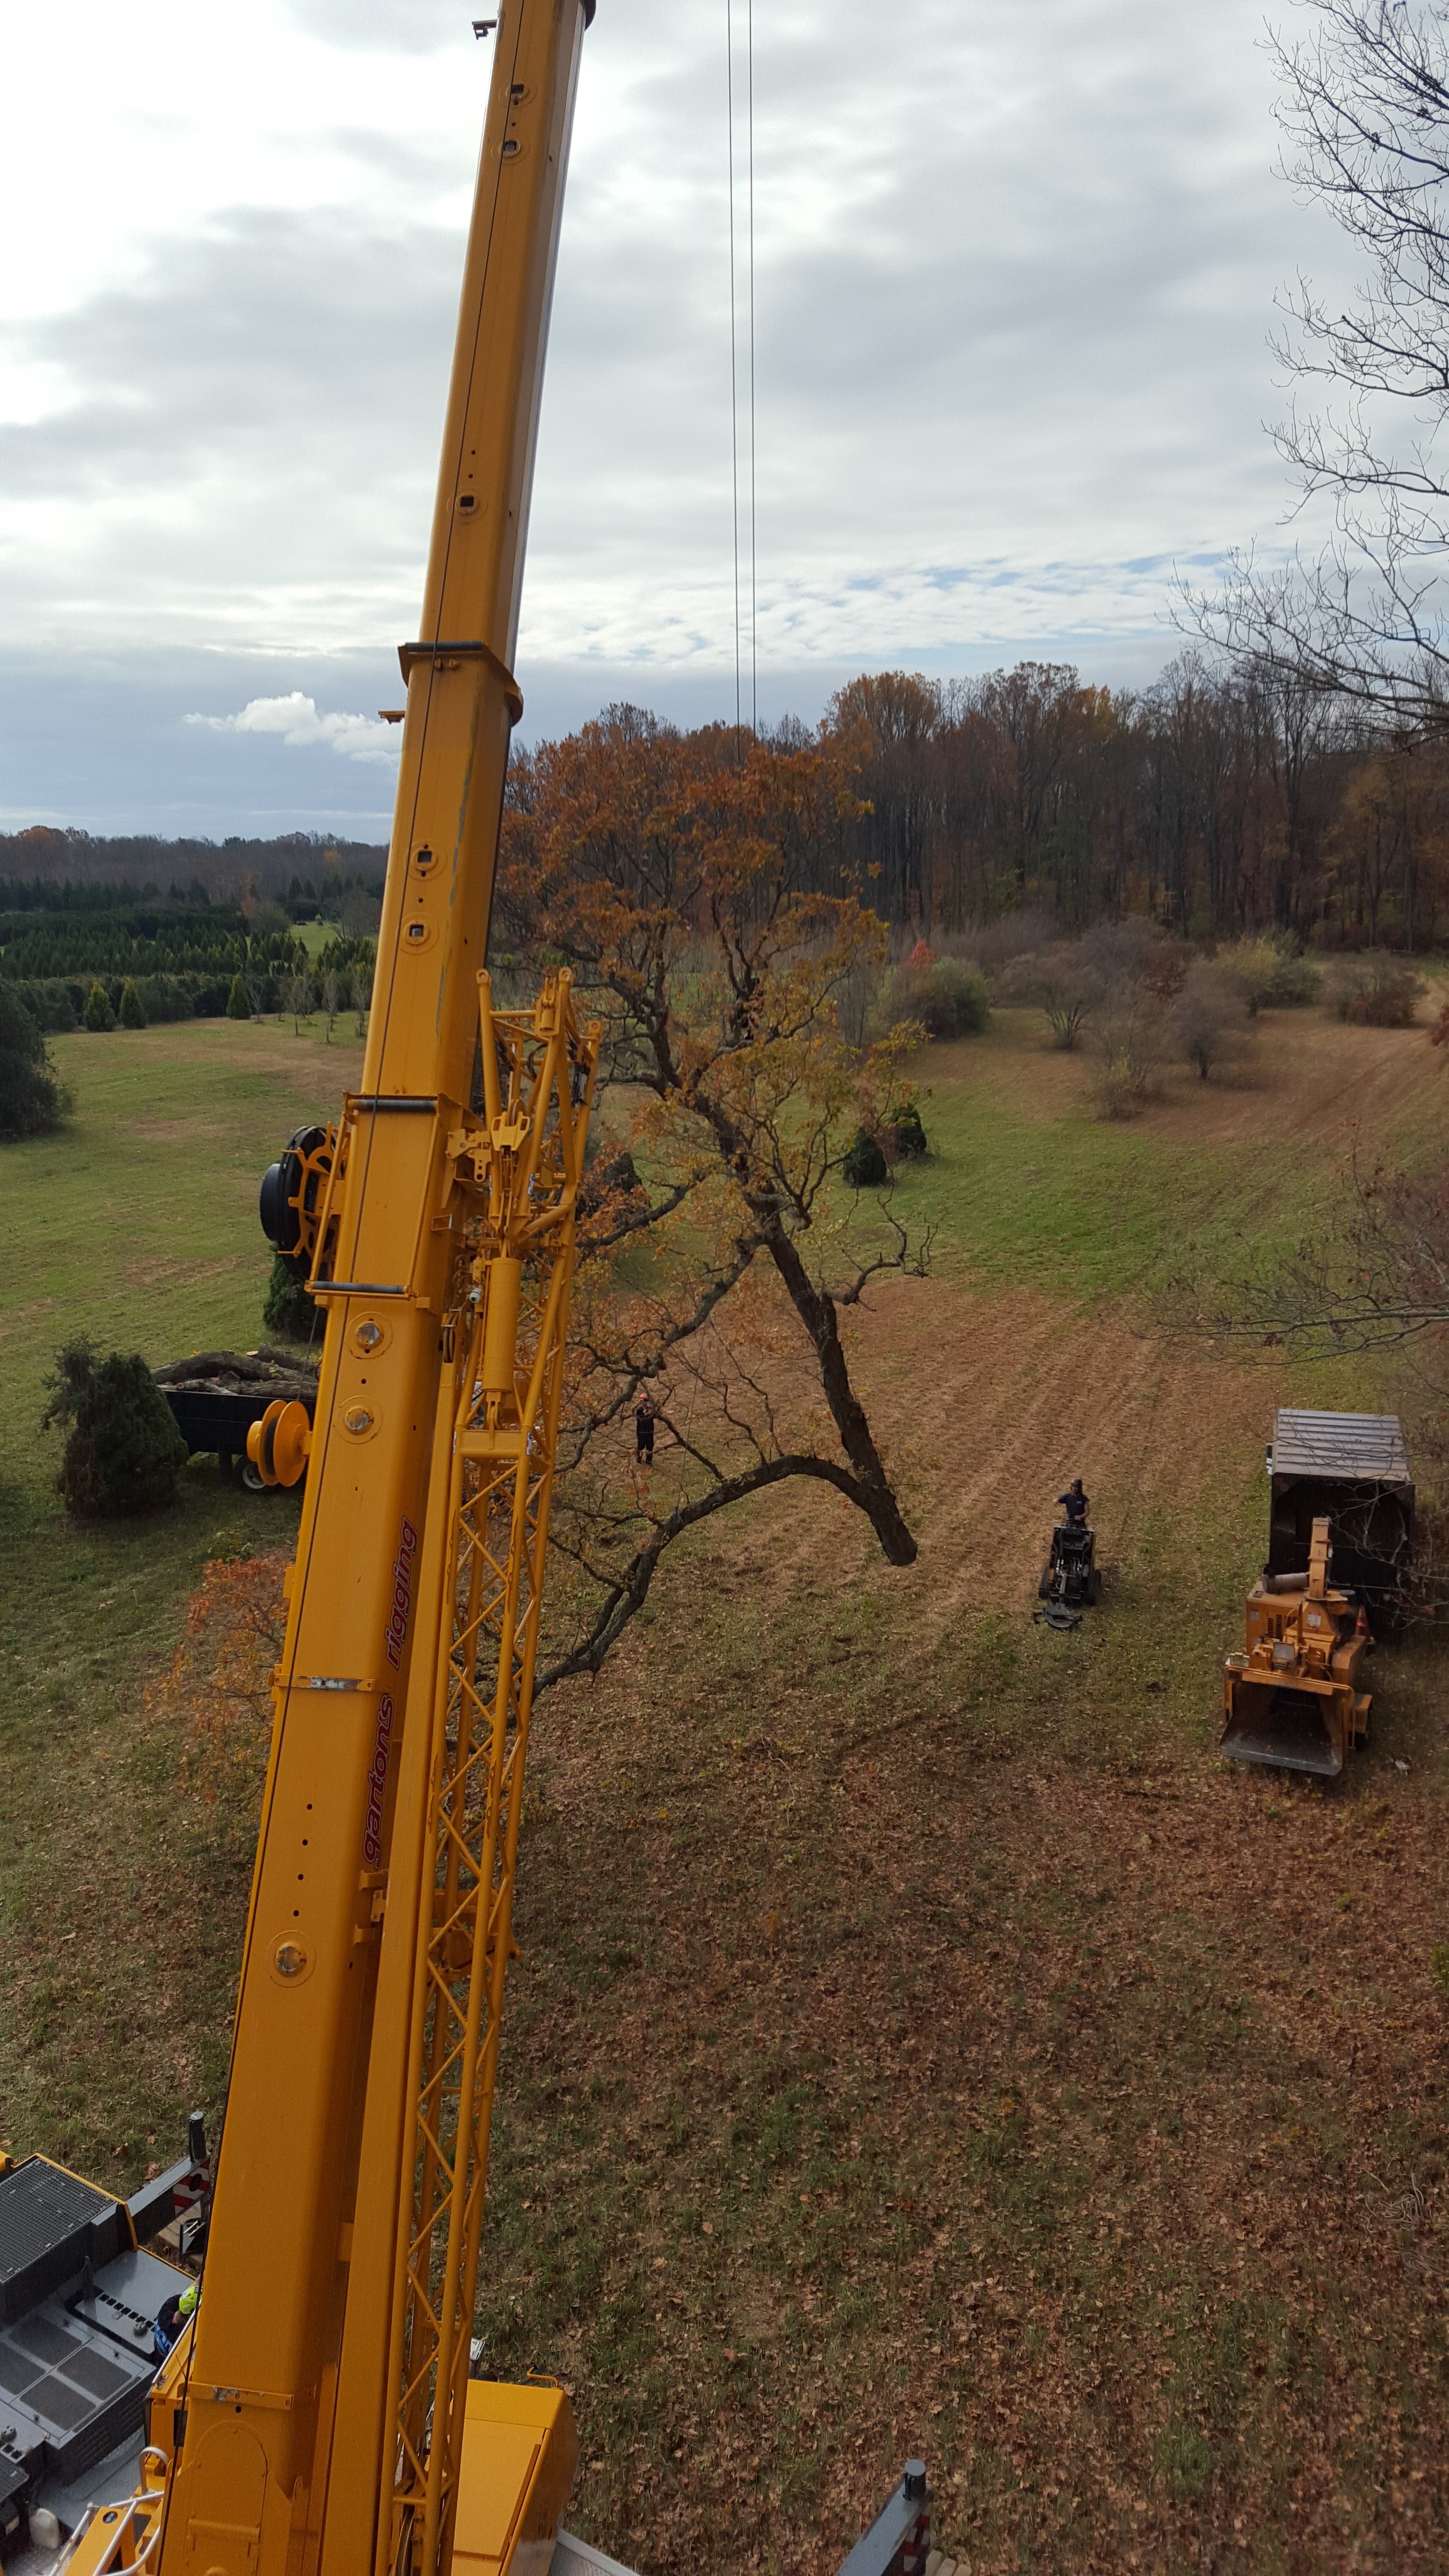
A third case is dealing with extreme wood diameter. There are times when I will do everything without a crane and then bring in a crane for half a day just to rig a trunk out because it is the hardest part of the job. One thing I always keep in mind is that a crane can greatly reduce the physical strain on the whole crew and your equipment. Why bomb Volkswagen-sized pieces of wood into your pulleys and ropes if you don’t have to. This will extend their life; we all know cycles to failure. The fewer cycles you have to do, the longer you have before you have to worry about retiring equipment or seeing a failure. For me that embodies why we bring in a crane.
What about when storms roll in? When a storm damaged tree is on or threatening a house or other obstacles, often a crane is the best way to stabilize the tree or get it out without causing collateral damage.
General guidelines
Here are some general guidelines: number one, never skip a job briefing. A lot of people get really anxious wanting to get started. You have a 132-foot tulip tree and the crane is setting counter weights up and things are not happening and it is nine o’clock and there is no sawdust flying. This doesn’t mean you skip the job briefing; that would be a big mistake. You still do what you have to do to work safe.
Include a rescue plan in that job briefing. What is going to happen if I, the climber, get hurt or if someone else gets hurt? Who will do what and how will you proceed? Know the rescue plan before you need it.
Everyone should know that you have to build in a safety factor. What does that mean? It means that you and the crane operator and crew determine a percentage of the cranes capacity that you will not exceed. For example, if the capacity at a given radius is five tons, you develop your rigging plan to work within the limits of say sixty percent. This will give you a cushion should you make an error in calculating the weight or any potential movement that was unplanned.
Some other rules are to inspect your slings with each use. Avoid shock loading at all costs. You never want to dynamically load a crane or bounce anything into it, rather keep things as static as possible.
If you are new to crane work, the first thing that I will tell you is it is not like conventional rigging. Once you are ready to make the cut, you have to cut through and finish the cut one way or another. You can’t leave a hinge or any fiber in place as this will inhibit the crane’s ability to lift without over-tensioning and ultimately cause a jolt. Trying to pull apart even a pinky-sized piece of fiber could require as much as 2500 lbs. of additional force to separate it. This is not a good practice. Finish your cuts. You have to cut it through.
Limits of radius
Work within the limits of the furthest radius. The distance between the crane and the object being lifted or moved is the radius. If the radius to the tree is eighty feet, yet the radius to the landing zone is one hundred, the drop zone is further away and should be considered for the capacity of the lift.
Communication
Lastly, communication is everything. When we get on a job site, the first thing that we do is discuss what we are going to do, how we are going to do it and make sure everyone is on board. If the operator says “no,” I say “OK” or I try to convince him. That works both ways. We have to agree and everybody on the crew has to be part of that.
We also use headsets during the work. Nobody has ever told me that they don’t like using headsets after they try them. They can improve communication so that everyone on the job site knows what is going on. They also enable communication for blind pics, dark conditions or other less-than-ideal conditions where hand signals may not suffice. I wouldn’t work without them in most situations now.
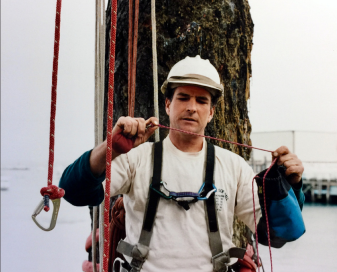
Climber/bucket operator concerns
Here is what you need to do as a climber or bucket operator. Number one, use proper work positioning. You don’t want to be hurt because you are not climbing properly or place the bucket truck in the wrong position. Two, use a green log weight chart and know what you are dealing with. Three, communicate to the operator what you want to do before you do it you get his approval.
Plan your rigging around what you see in the shape and how the piece can be balanced. Talk to the operator about where you are going to make your cut so you can capture the center of gravity. Plan it right before you rig it. Start your cut around the more difficult side first and work to the side that you are most comfortable on. That is your finishing spot and is where you want to be when there is movement.
Be prepared for the worst situation. I hate hearing climbers say that they got hurt. I know sometimes you can’t help it, but I hate it more when a climber says that he got hurt and when I ask how they tell me that something went wrong and they expected it caught them of guard. Plan for things to not go perfectly and if something does go wrong, you’ll be much better prepared and hopefully avoid an injury.
Make your cuts with confidence. Everyone is a little anxious when you are not used to doing something. You can use that energy to be prepared and focused, but you can’t be anything but confident when you make that cut. Once you make the cut, watch what can be a danger to crew. First and foremost it is you, but then it is the crew. You are not done once the piece is away, you have to keep watching the operation and helping to spot potential issues before they become a threat.
Lastly, re-evaluate your plan. Don’t be stubborn. Make a change when you need to no matter what it means to your ego.
Tying into the tree
When you get into big pieces, you have to have a plan to tie in to the tree and to do so safely. There are many scenarios we could discuss about work positioning, too many for this article, but let me at least mention cutting on the bad side.
With bucket work you get into a lot of bad-side situations. If you can’t cut straight through a piece – you are on one side and can’t reach through at the end of the cut – the first thing you do is move into that bad spot, such as underneath the piece, or with the bucket under the piece. You cut that section first when there is no chance of movement. If you wait until the piece is almost through to cut that piece, it could sit down on top of you when it releases. You don’t want to be under it if it drops or where it could move and pin you between it and the tree when it comes off. So, cut the bad side first, then finish from the good side, where the bucket or you are out of harm’s way and in your most comfortable position.
Making the cut
What types of cuts do you want to use? The easiest for me is a straight cut. If I can get up there and just slice right through something that is what I do. And I do it quite a bit on brush work, especially the smaller stuff.
You can use a snap or overlap cut, which lets you get out of the way and the crane can lift the piece and break it off pretty easily. What is the potential for a problem? You leave too much fiber in the wrong situation and you have to overload the crane to get it to break off. There is a little room for error, and it takes knowledge of what fiber is stronger than others and how thick and how far apart the cuts should be to work properly. These ansers will vary and that gets more complex in nature.
The face and back cut is can be useful in crane work and I know some people love it. I prefer not to use it much if at all because it too is very complex from the standpoint of keeping the boom in the right position all the way through the life and having the piece only release at the perfect time,
One thing that I am fond of is irregular cuts. One example is what I call a “V” cut where you make two intersecting cuts in the shape of a V. It doesn’t have to be a V, but it’s usually two angular cuts that lock a piece into position to keep it from falling or pushing in different directions. I also use something I call a wall-and-shelf cut. The difference between a V cut and a wall-and-shelf cut is that the latter is flat in on one side and the V is angular in both. Both allow you to control branch movement as it comes off the cut and allows the operator the luxury of lifting slowly out of the cut with little risk of sudden drops.
Something a friend of mine showed me years ago I also like is a sawdust cut, which is a good cut to use especially for the trunk cut at the ground. All it is really is a circular cut where you bore into the center of the tree and you run around cutting with the top side of your saw and you finish the cut all the way around where you started and it is totally cut through. This jams the sawdust in the cut as you work instead of throwing it out and that sawdust is enough to keep the piece from sitting down when finished and pinching your saw. Basically your goal is to bore into the center and just pivot around so you know everything is cut. It’s a great cut to know.
What I encourage people to do is use everything available to achieve your goals. What I find most common is everyone cuts everything like it is a pruning cut. It doesn’t matter here if it looks nice – it’s a removal. Change a cut and don’t think about what it is going to look like. Some of my cuts, when they hit the ground, are the goofiest looking pieces you have ever seen. If it serves a purpose then it’s notnthat goofy after all.
In a lot of these cuts, try to cut more than you think you need to. It may take two more seconds, but you are not going to leave that little piece of fiber that causes an issue. I overcut a lot because I want to be sure it’s off. Same with the V cut or shelf cut; it isn’t a perfect V, rather a little bit like an X. The two cuts overlap slightly so you know that you have the cut done totally.
What the ground crew needs to know
I couldn’t do what I do without the right things happening on the ground. It would be a nightmare. But if the right individuals are there, it is a good experience.
You have to know how to set up your landing zone; that is first and foremost. Number two is get the crane back as quickly as possible. The longer the climber is waiting for that hook, the less is getting done. Don’t worry about if it faces this way or that way, put it on the ground as quick as you can, safely, and the get it untied and get the crane back. The ground crew should have time to do everything they need to do before the next piece comes down.
Watch for shifting when you are landing that piece and while cutting it. When you have pressure on a big limb, you have to cut that piece like a spring pole because they can react violently. Make sure you use the right cut. And, if necessary, before setting the piece all the way down, keep some weight on the crane to help alleviate that stress while making that tensioned cut. That alone could prevent a hazardous situation from arising.
Another thing to think about is to pay attention to change in the sling tension. When you start to lower something, things can flip and then one sling may be doing all the work and maybe that piece isn’t strong enough to support the whole load and could break if the weight shifts. Or, when you put a piece down, sometimes it shifts and a branch might catch in the load line and flex to the point where it breaks and shoots back when you are getting ready to untie the sling. You have to stay alert and watch how things change.
Don’t pull the hook off center to unhook the slings. Why? Because when you let it go it may hurt the crew member untying the other side. You may clobber him or her with a 500 pound hook and they wouldn’t even see it coming.
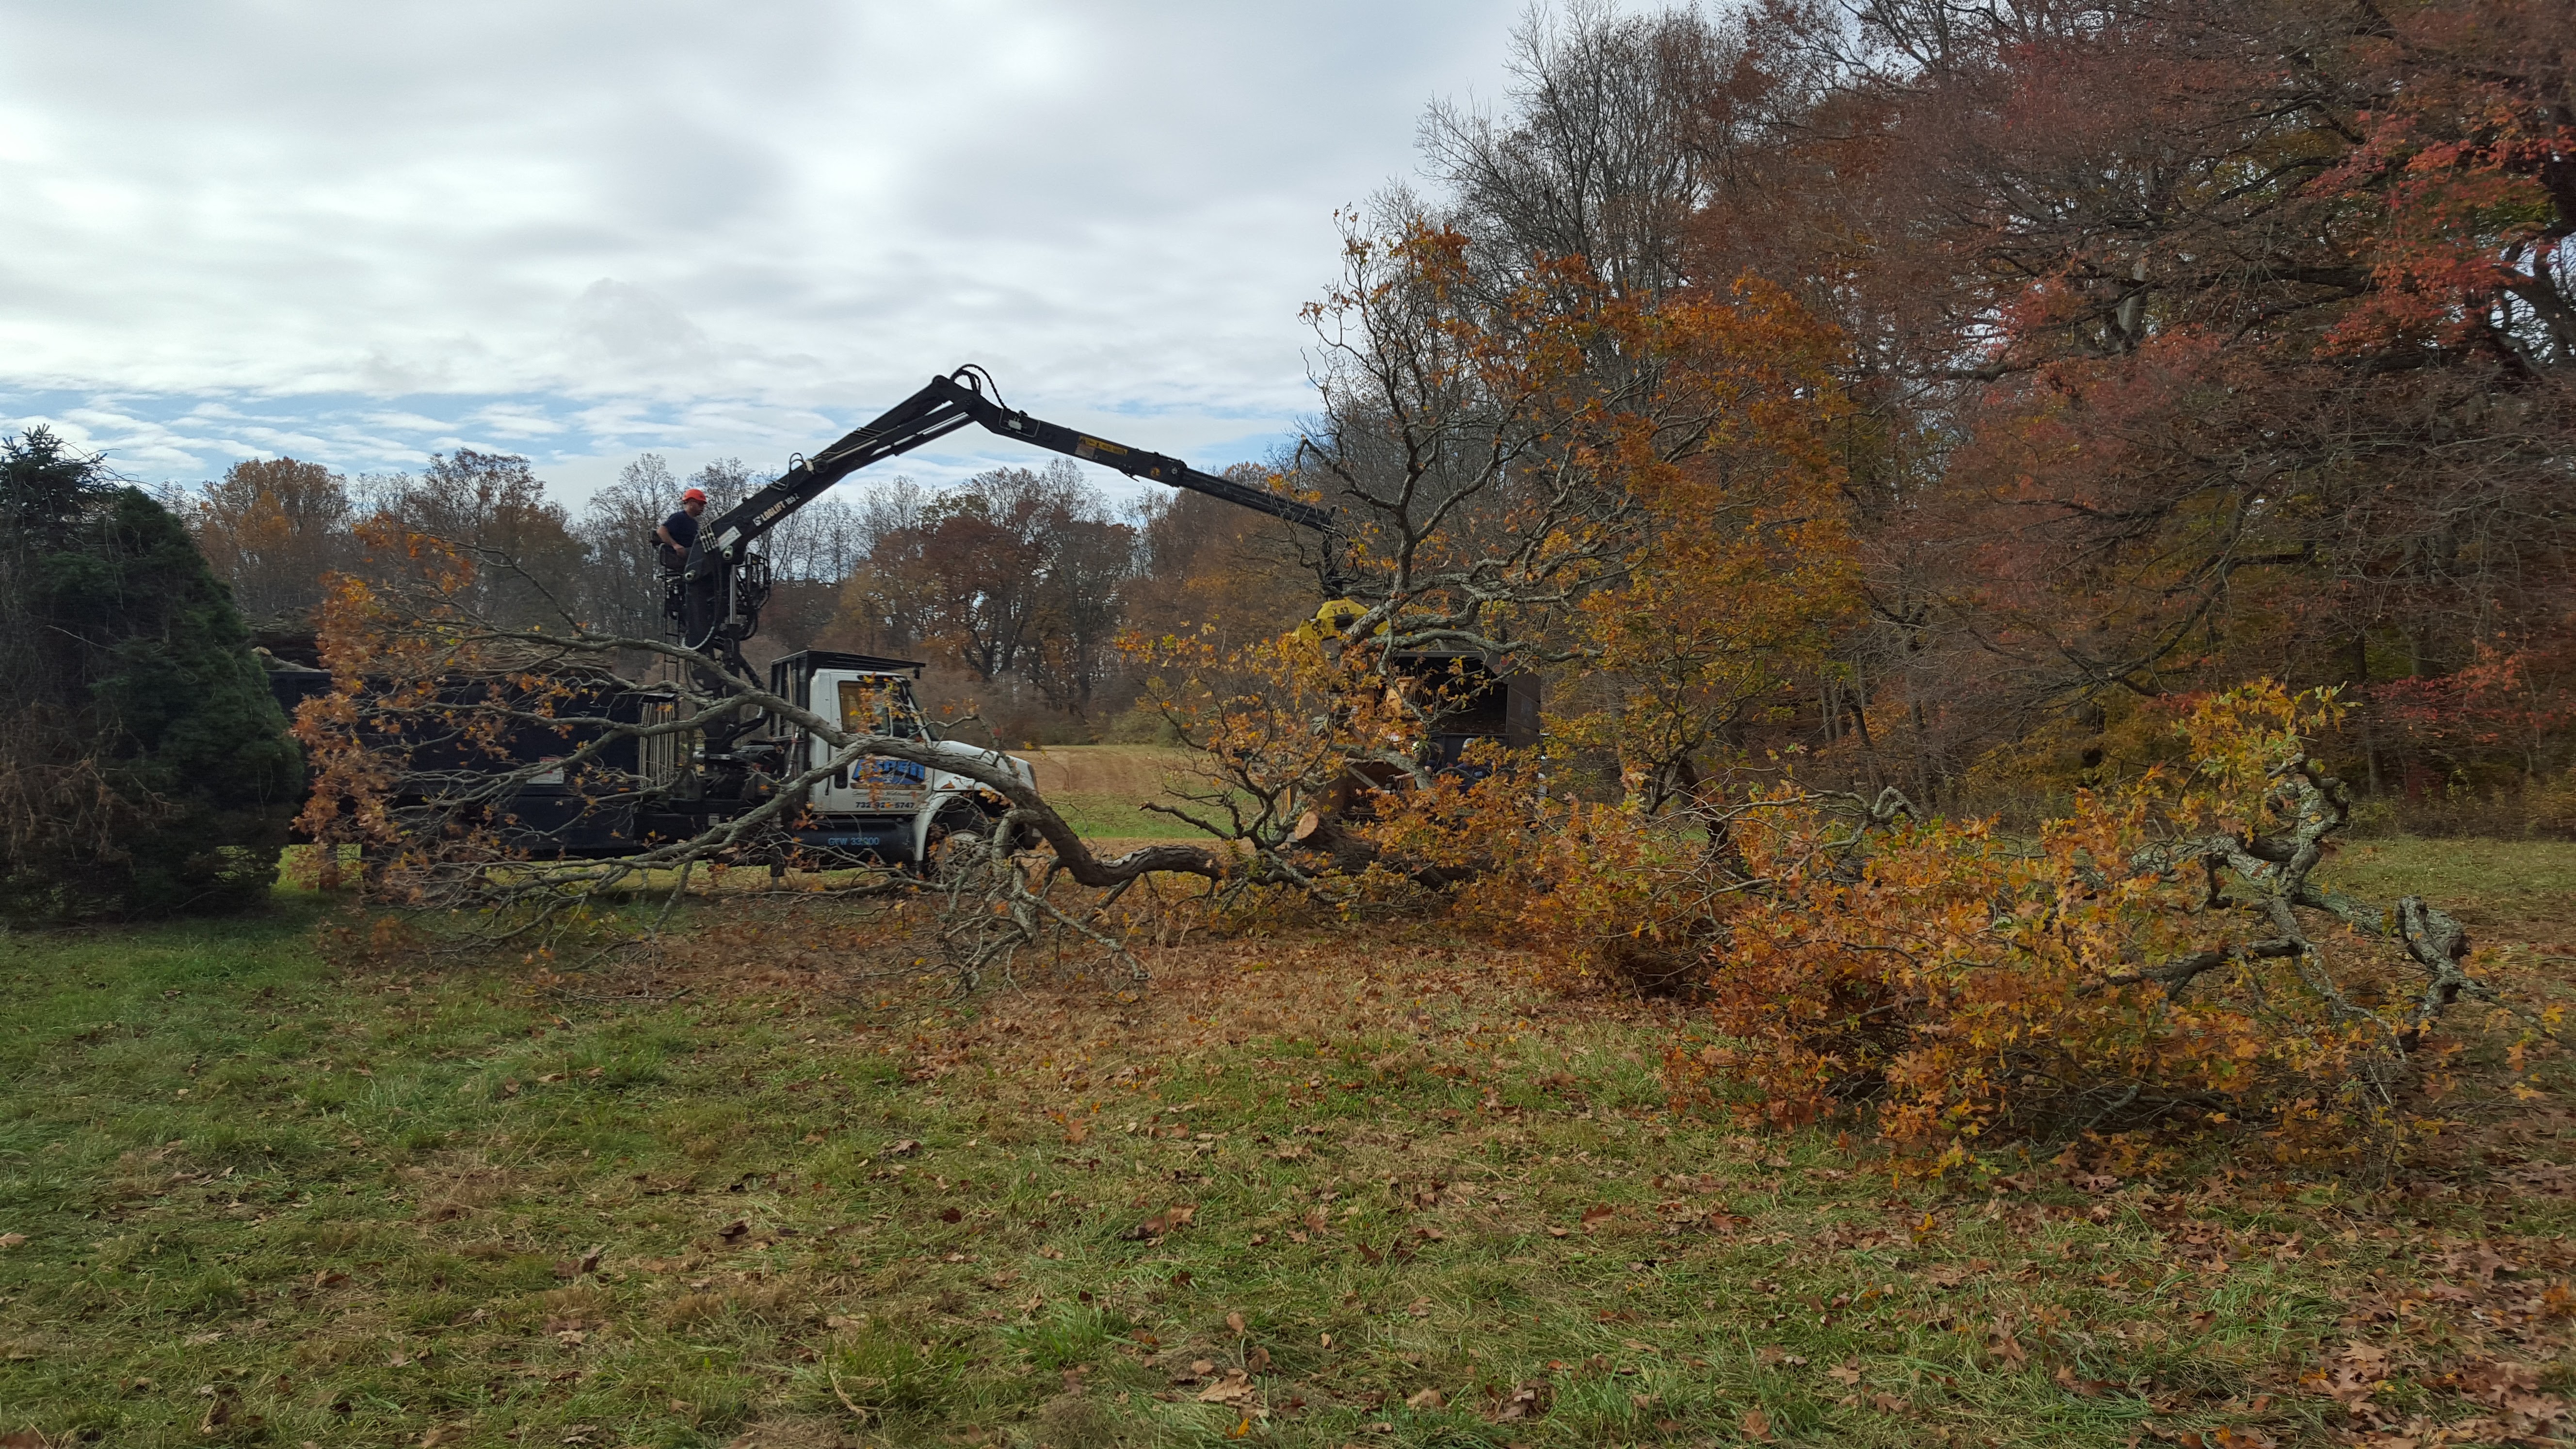
Keep the site clean of debris. The hard part about that is planning ahead. When you see this stuff coming down you have to know where it is going. When the wood comes off put it in a place that’s out of the way for the brush. You have to plan ahead.
You may be using a loader or grapple truck to manipulate pieces on the ground and to feed a chipper. Some of the best equipment we have ever bought is a log truck and a mini loader. They help make short work of the large debris. And the minis are not that expensive compared to what you can do with them. I wouldn’t work without one now. We now have one for every crew.
Summary
Crane work and all tree work is all about safety and efficiency. When I look at how I am going to complete a job, my number one concern is safety. What is my number two thing? Profitability. I will do something that is less efficient for me and maybe work harder if I know it is going to get it get done quicker. For example, do I use a bucket truck in a tight yard and make a mess that can’t be cleaned up simultaneously or do I just climb it and clean it up as we go; which is harder on me, but is better for getting the job done? Of course I choose the latter. I always say work smarter AND harder.
Remember to work to estimate the weight accurately. This is where most of the accidents that I see happen. You have to have a plan for being wrong and work at being right.
Use everything you can to increase your safety and enhance your performance as a team. Every cut is not the same straight up and down pruning cut. Use every bit of creativity that you have to reach your desired results. Never leave anything to chance; calculate everything and always be open minded to the suggestions of everyone on the crew. The more minds involved the better!
Mark Chisholm is with Aspen Tree Expert Co., Inc., a 28-year TCIA-member company located in Jackson, New Jersey. This article was based on his presentation at TCI EXPO 2014 in Hartford, Connecticut, on the same subject. To listen to an audio recording of that presentation, go to this page in the digital version of this issue of TCI, at www.tcia.org under Publications, and click here.


